Denver South High School Bench
Summary
This bench project was inspired by the special education teachers at Denver South High School who needed a bench for students waiting for their notoriously late bus. The project began when a special education teacher approached the engineering teacher, and I was tasked with bringing the idea to life.
Working from scratch, we developed design constraints with the special education class, secured funding and permits, designed the bench in Autodesk Inventor, sourced local materials, built, and installed the bench—plus, we continue to perform annual maintenance.
Take Away / Skills Acquired
- Organized and regular client-engineer communication
- Cloud file storage and backup practices
- Designing with realistic tolerances
- Leveraging expert advice in engineering
Skills Acquired
- MIG welding (introduction)
- Concrete casting with rebar
- Designing with tolerances
- Creating project proposals for funding and support
- Designing for durability and survivability
- Material and component research and purchasing
Project Walk-Through
Define the Problem
The special education class at South High had to wait up to 45 minutes for the bus, which was challenging for the students. At the same time, the graduating class of 2021 and retiring teachers deserved a lasting memorial at the school.
Generate Concepts
Together with the special education class, we explained the engineering process and gathered design inputs. Criteria included having armrests on either side, accommodating at least three people, being within 20 feet of the bus pickup, and requiring little maintenance. Ideas even included sliding, lockable armrests for personalization.
Develop Solutions
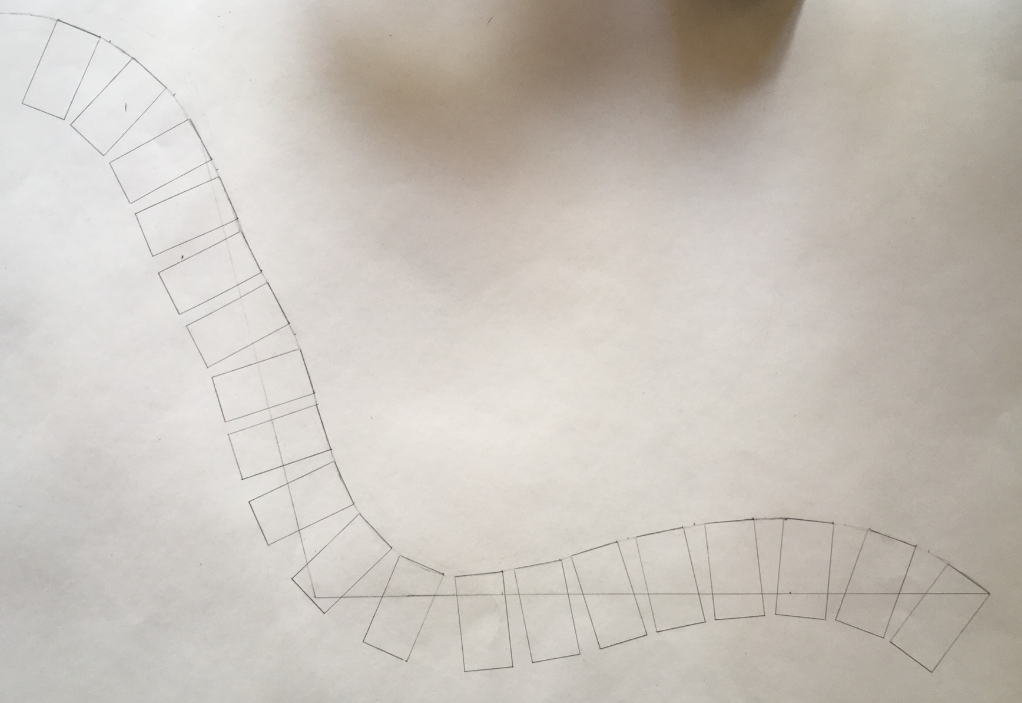
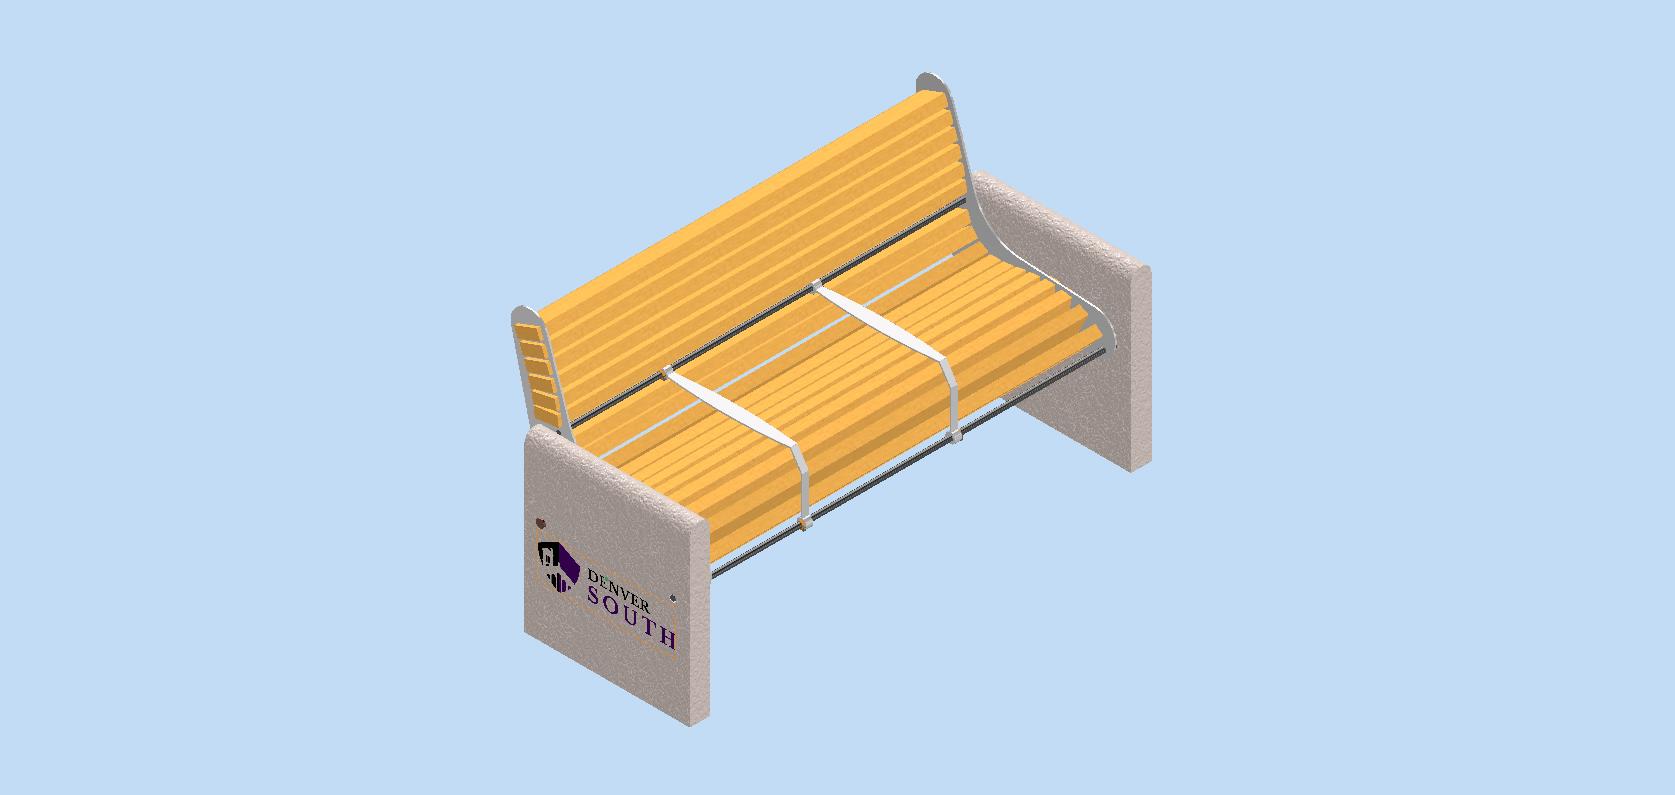
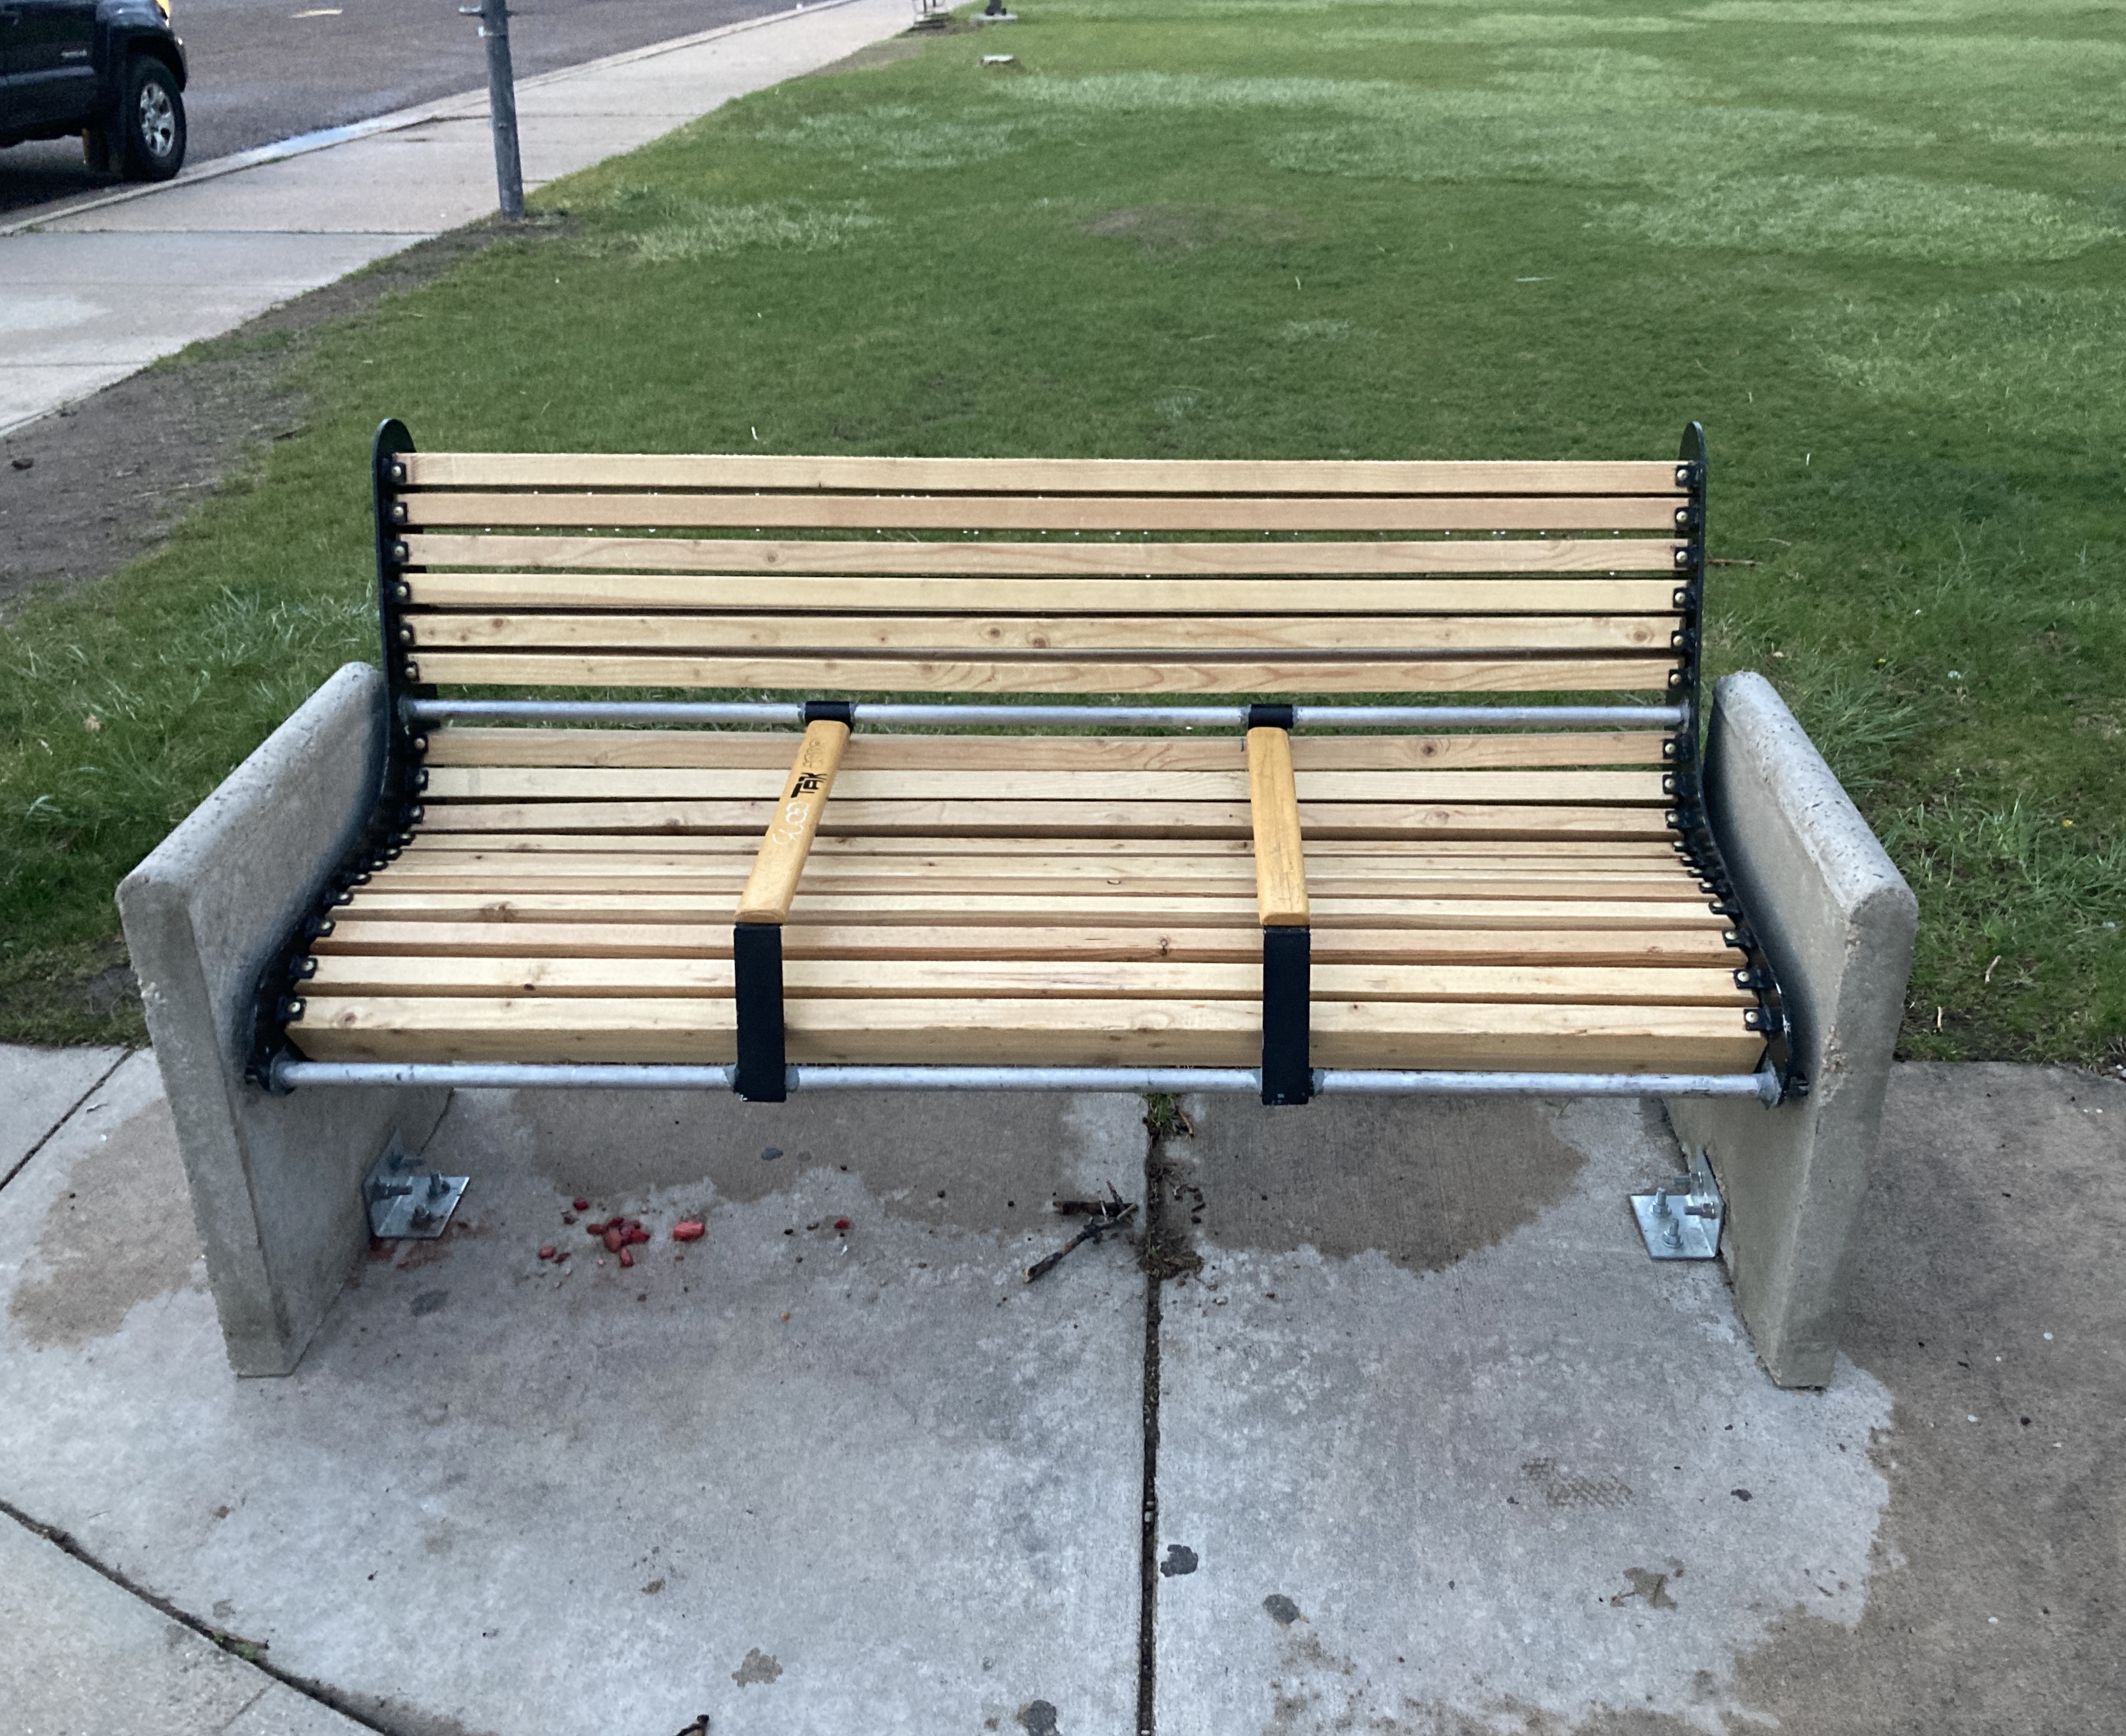
After extensive research, we chose rectangular prism concrete supports for cost-effectiveness and strength, paired with an L-shaped steel support to arrange multiple 2x4’s in a flowing pattern. Steel round bars tied the design together with a minimal, clean look.
The sliding armrests proved challenging—multiple mechanisms were considered until we chose a cost-effective, manufacturable solution (which later needed refinement).
Construct and Test Prototype
All prototypes were created in Autodesk Inventor. I iterated through seven design versions, tweaking components based on material research and construction logistics. Funding from our school and PTSA allowed us to source quality materials, with only the water-cut L support outsourced.
Though a last-minute client change forced us to install the bench on existing concrete rather than a dedicated foundation, we adapted by precisely drilling and using bolts with concrete anchors to ensure alignment.
Evaluate Solutions
This was my first full-cycle engineering project—from idea to client delivery. I learned the importance of documentation, realistic tolerances, clear client communication, and backup procedures. The bench will serve the school for decades.
Future Improvements
- Better project documentation
- Redesign armrests for optimal ergonomics
- Implement a more realistic, linear timeline
- Increase tolerances for critical components
- Enhance client communication to prevent last-minute changes
- Establish robust backup procedures for design files


